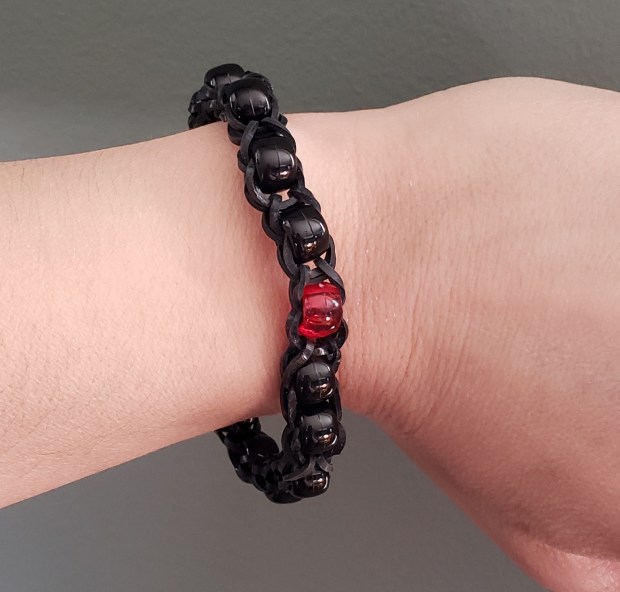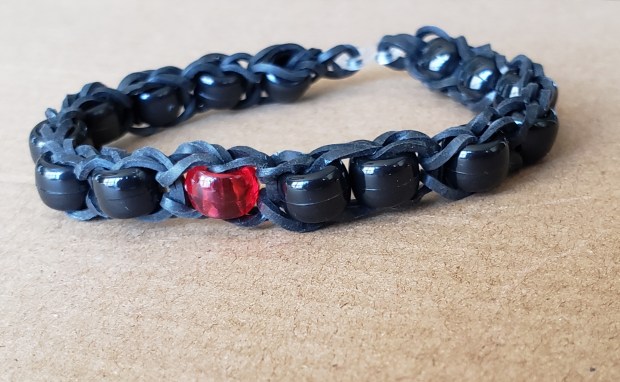
Recently, we have been making lots of bracelets with the loom bands. These are very small rubber bands. There are patterns for making them with beads and that gave me the idea to make our own prayer bracelets!
Materials
30 black rubber bands
14 black pony beads
1 red pony bead
Your 2 fingers or a mini loom
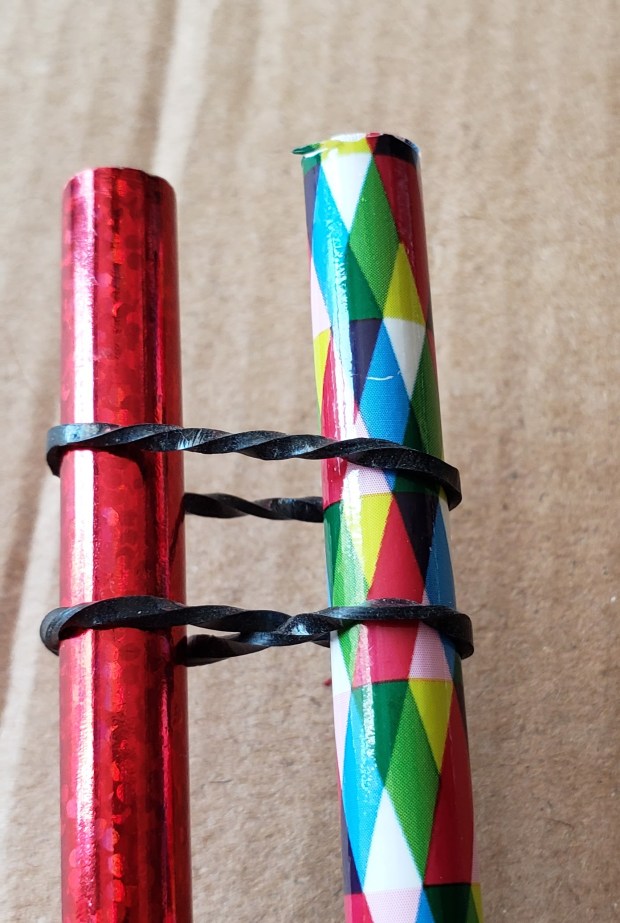
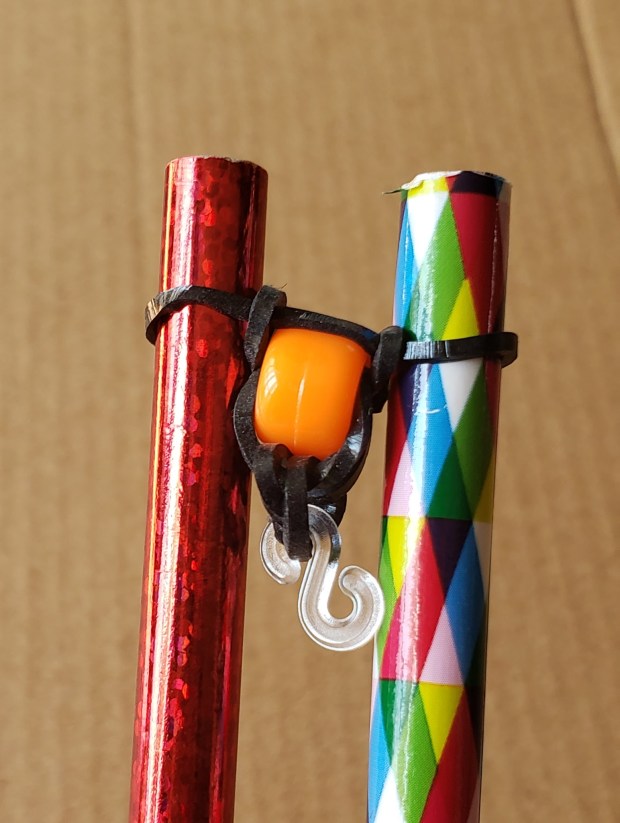
Don’t have a mini loom? You can make your own with 2 pencils, 2 regular sized rubber bands and an eraser, like we did in the picture below.

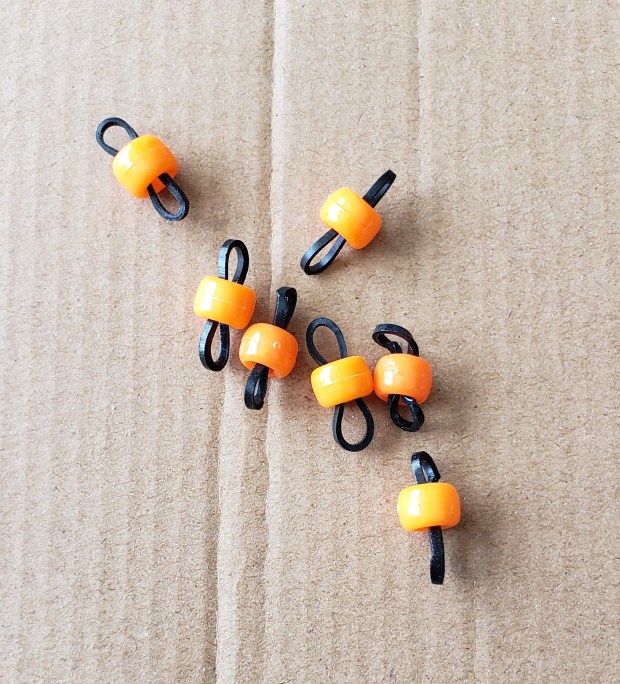
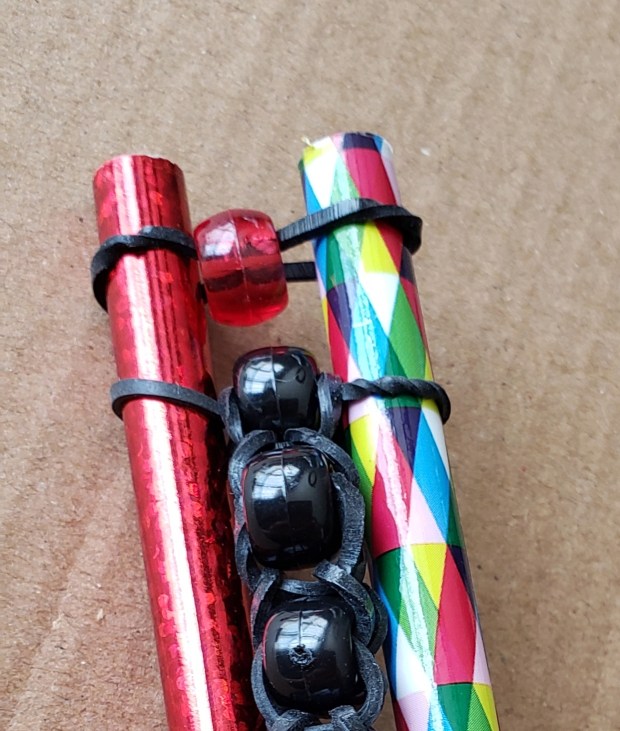
For my instructions I used bright orange beads so you could see the black rubber bands a little bit better, but my final prayer rope I used black beads.
Step 1
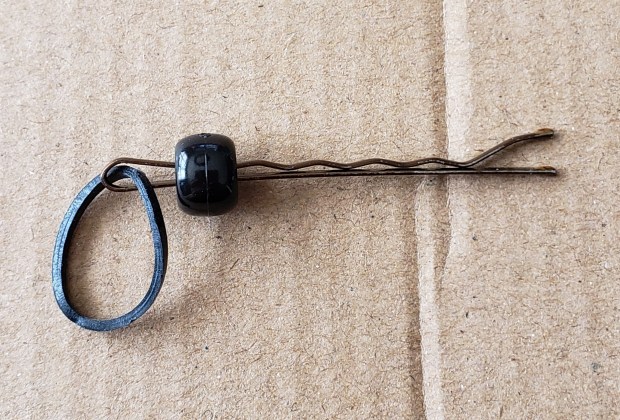
It is easier if you thread the rubber bands through the beads ahead of time.
If you struggle with this, you can use a bobby pin to get the band through the bead.
Step 2
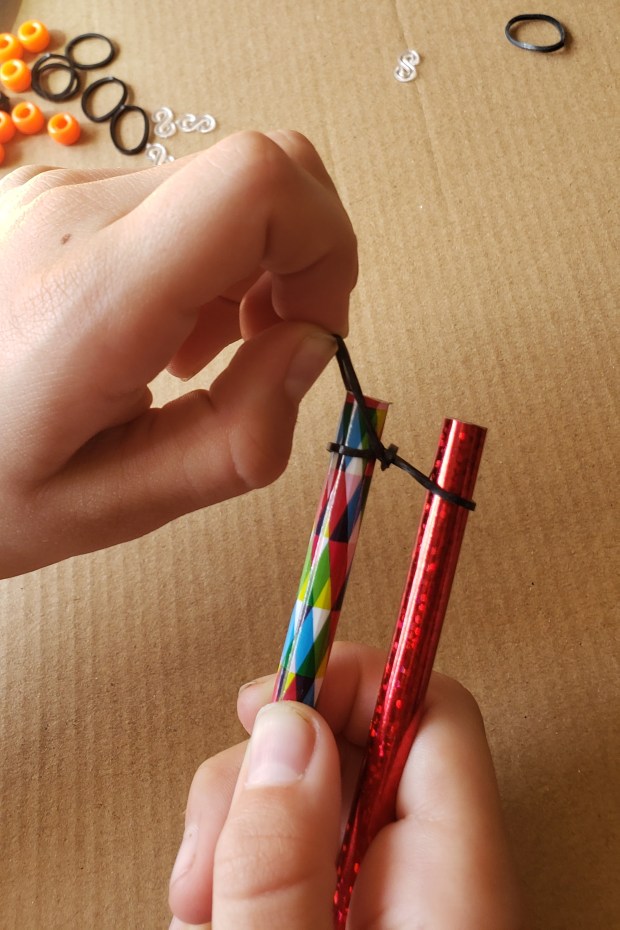
Hold the loom between your knees or have a parent /sibling hold it for you. You will put the 1st rubber band on by slipping it over one side of the pencil, twist it once and put the other end of the band on the other pencil. Push the band down a little bit.

Step 3
Throughout this tutorial I will refer to bands without a bead as plain. Add a plain band on top. Do not twist it. These first 2 bands will help so that the bracelet does not fall apart.
Lift the right bottom band up & over the pencil on the right and let it go.

Do the same for the left side.
Push the bands down a little bit on the pencils. It will look like this.

Step 4
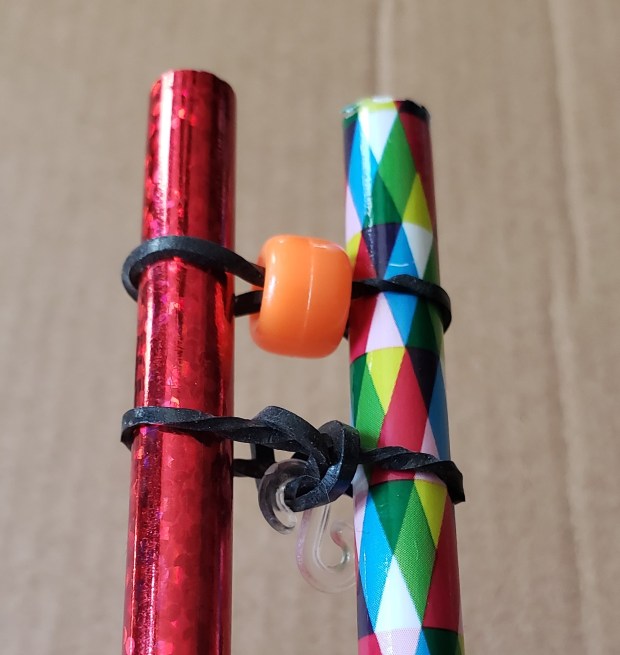
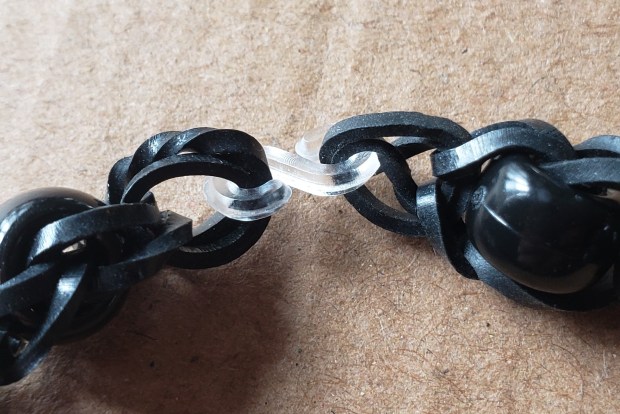
Add an S or C clip to the rubber band. This will make it easier in the end. The clip holds both ends of the bracelet together.

Step 5
Next we will add a beaded band. This can get tricky because the band likes to come out of the bead. Hold the loom between your knees (or have someone hold it for you). Take one of end of band in one hand and the other end in the other hand. Slip each end of the band over the top of the pencils and push it down.
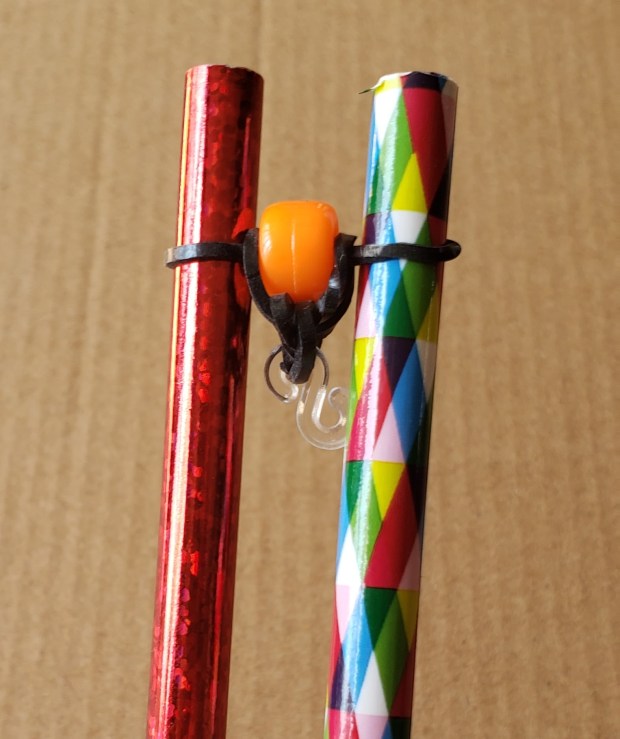
Pull one side of the bottom band up & over the pencil and let it go. Do the same for the other side. Push the remaining band down on the pencils a little bit. It will look like this.
Step 6
It is important that you add a plain band next between your beaded bands. So slip it on the pencils. Then grab the bottom band up and over the pencil. Let it go.

To help me keep track of which type of band I am on, I like to say, Plain, Bead, Plain, Bead, etc. Or you can set out the bands in that order ahead of time so all you have to do is grab the next band or beaded band.
It will look like this.
Step 7
Repeat steps 3, 5 & 6 until you have 7 black beads loomed together. End with looming a plain band.

Step 8
Add a red bead. Then repeat steps 3, 5 & 6 until you have 7 black beads loomed. End with a looming a plain band.
Step 9
Take the S or C clip that you put on the bottom band and slip it onto the last band you loomed. Your bracelet is complete!
You will have 14 black beads and 1 red to make 15. This will help you keep track of how many times you say the Jesus Prayer – “Lord Jesus Christ, Son of God, have mercy on me.”
As Orthodox Christians, we try to say this prayer as many times as we can every day. People use the prayer rope to keep track of how many times they say it. See how many times you say it today and write it down. Tomorrow, try to say it one more time than yesterday.