Today as we prepare for Holy Friday services at home, we made our own Kouvouklion & Epitaphios! Please know that this was not my idea. Sotiria Stavropoulos created a Facebook video where she showed how to create it. I was so amazed by how beautiful it was and we decided to make our own! I have included instructions on how we did this. Some of the work will need to be done by an adult but there are also tasks kids can do.
Materials
Box (ours was roughly 8 x 11)
4 empty paper towel rolls or toilet paper rolls (we only had toilet paper rolls on hand)
Masking tape
School glue
Paper bowl
Paper plate (for measuring)
Scissors or Xacto knife
Coffee filters or paper for flowers
Optional: Hot glue gun, Xacto knife (not necessary but will make this SO much easier), Markers for colored flowers
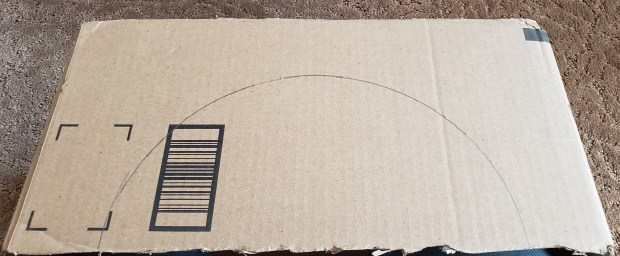
Step 1 – Remove labels
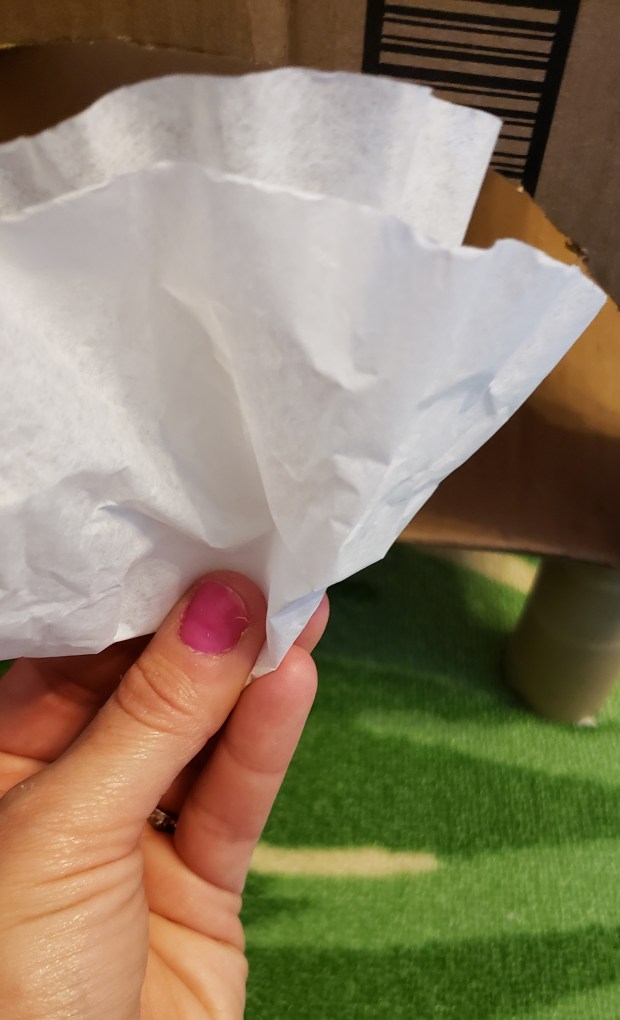
Remove all of the tape and labels off of the box. Take the paper plate to use as a template. I put it where I felt it looked best to make the arc. I marked on the paper plate where it lined up with the fold of the flap. I wanted to make sure that when I did the other side that it looked similar in size and shape.

Repeat the tracing for the other side.
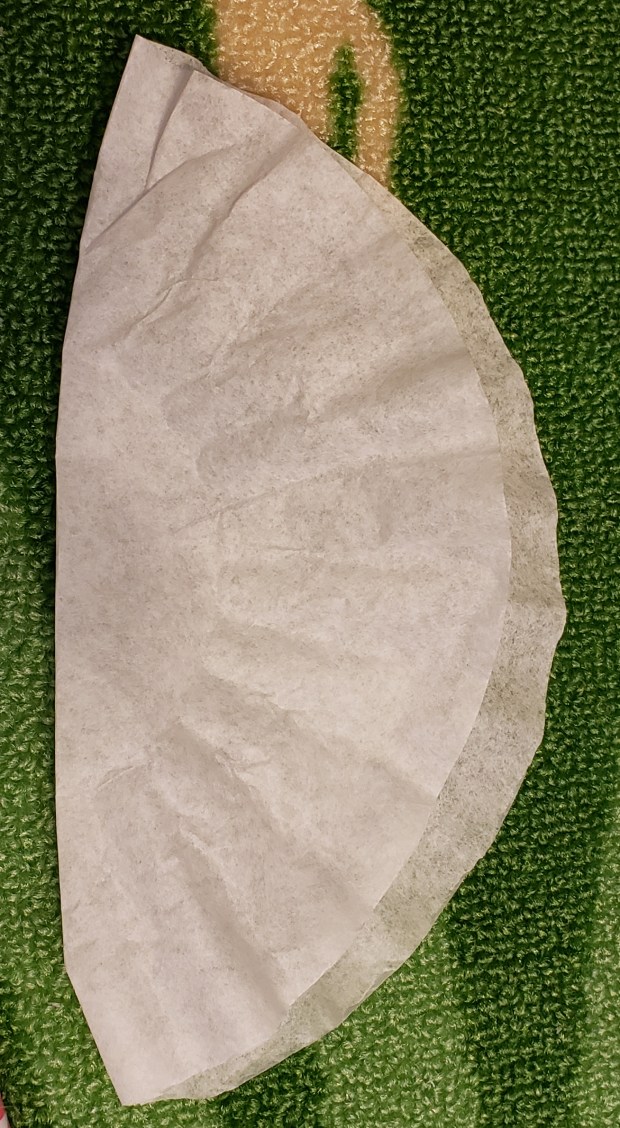
Step 2 – Draw the Cutting Lines
Since the other 2 sides were smaller, I used the paper bowl as a template. (Sorry I don’t have a picture!)
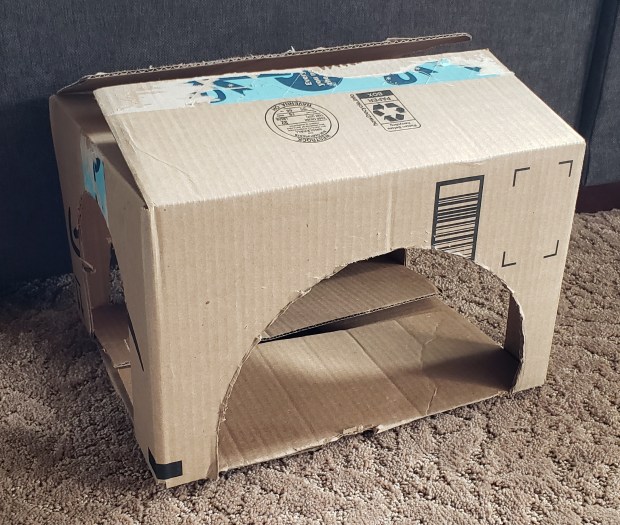
Step 3 – Cutting
Cutting – This was tricky when trying to cut with scissors but I was able to do it. I know some people may not have an Xacto knives so I wanted to see if it was possible with just scissors. It is but Xacto is a lot easier. Cut into the fold of the flap. You will cut it until you reach the template you drew. Do NOT cut the flap off all the way. You will need this to be attached to make the project sturdy.
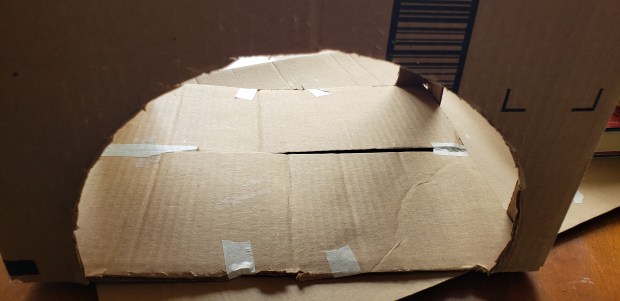
Step 4 – Gluing the Dome & Flaps
We tried both school glue and hot glue gun. If you use school glue, make sure you have enough glue on the flaps. We did a circular pattern. Make sure the corners and edges have glue. Glue the flaps together. Then glue the dome on top.

If you use school glue, you will need to also use some masking tape to hold the flaps and the dome down while it dries (see pic). You will take the tape off once it is dry.
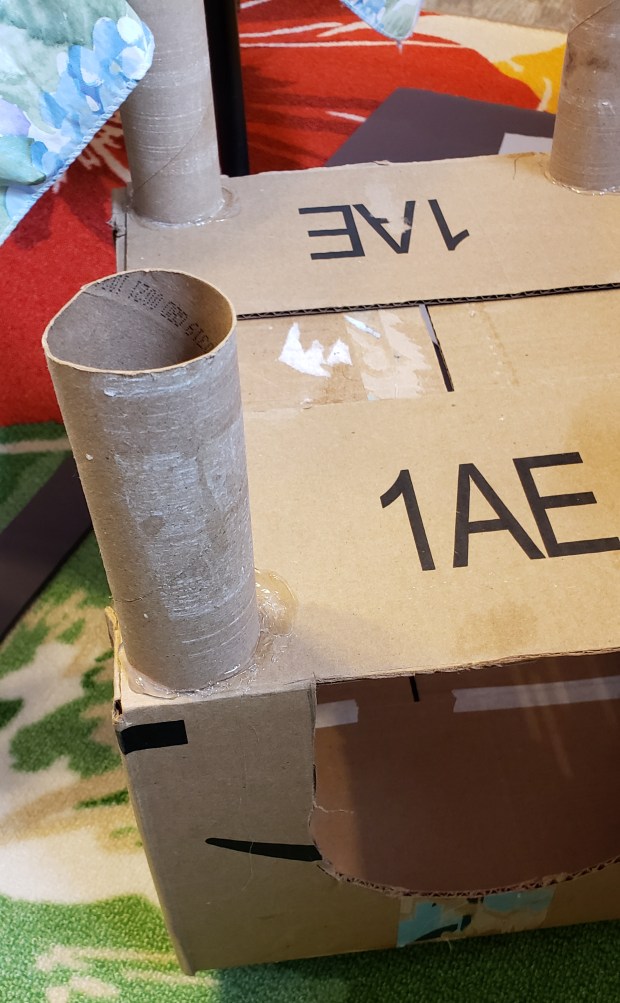
Step 5 – Glue the Legs
Using a hot glue gun (preferred) put some glue down on the bottom corner of the box. Put the paper roll on the glue. Do this in each corner. These are the legs.
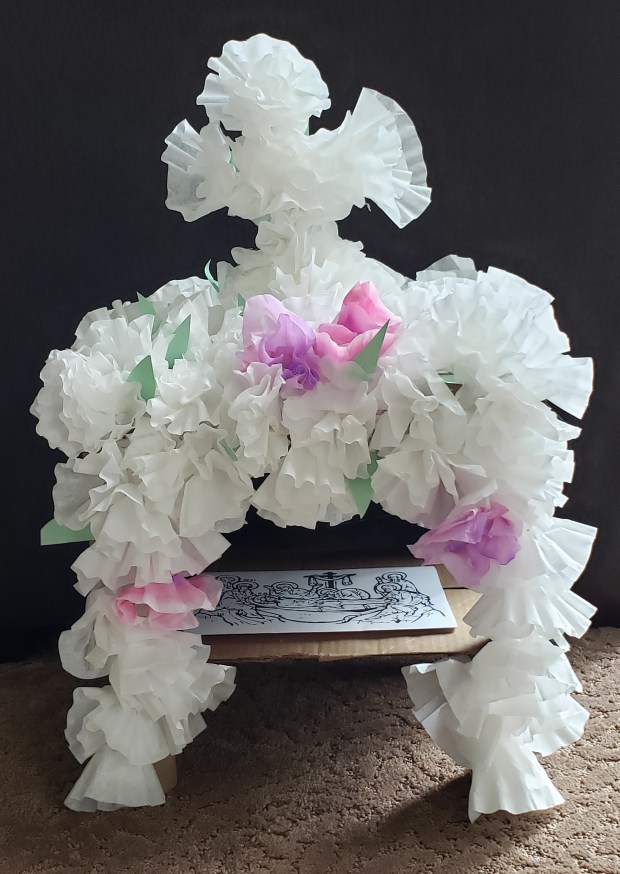
Step 6 – Flowers & Leaves
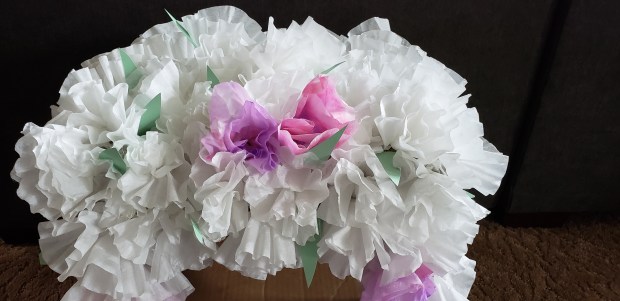
We made flowers out of coffee filters. Fold the coffee filter in half with an uneven fold. This will give the flowers a little more depth.
Pinch & twist the bottom to make it stay together. We used the hot glue gun to adhere the flowers to the box. It was easier but you could also use school glue. Cut some green leaves and glue them throughout.
Colorful Flowers – If you want to do colorful flowers, you will have to plan ahead to do this the day before so they can dry. Take a marker and draw a circle on the coffee filter. Don’t worry if it looks good. I folded the flower a bunch of times. Then I dabbed a little bit of water on the end of the filter.
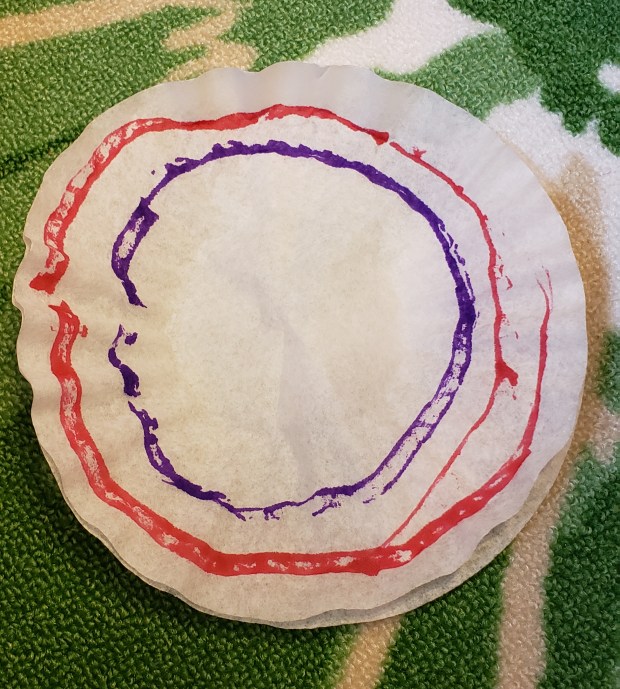
The water will absorb and draw the color throughout the filter. If you use 2 colors you will get an ombre effect, which is so pretty!
Step 7 – Cross
Cover a cross in flowers. This was tricky. I could have cut a cross from the cardboard, but it was easier for me to cut card stock. It was still pretty flimsy, so I had some large popsicle sticks that I glued on the back to make it sturdy.

This was also very helpful when I had to put the cross on the dome, because I cut a slit in the dome and slipped the stick in it.

Step 8 – Icon
Print & color the icon used at church. I found the Epitaph icon coloring page from the Department of Christian Education for the OCA. http://dce.oca.org/resources/line-drawings/
Kali Anastasi!

One comment
Comments are closed.